Underwater Photography Tips Diving the Great Barrier Reef
Welcome to our guide underwater photography tips diving the Great Barrier Reef. In this article, we show you the top tips for capturing amazing underwater photographs while scuba diving the Great Barrier Reef in Australia.
REEF TOURS FOR KIDS & FAMILIES:
Sunlover Reef Cruises
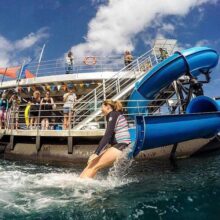
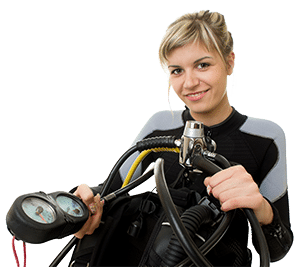
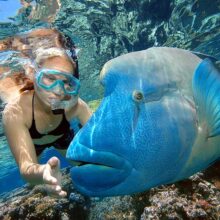
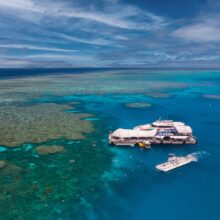
The only pontoon in Cairns with a waterslide! Great day tour for people of all ages. Visit Outer Reef Pontoon at Moore Reef, with lots of inclusions: all snorkel gear, glass bottom boat and semi-sub tours, underwater observatory. Enjoy magnificent snorkeling.
Silverswift Dive & Snorkel
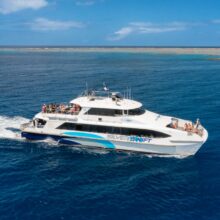
Best Outer Reef Tour for Serious Certified Divers. The only Cairns dive boat to visit 3 x outer reef dives sites in one day! Part of the Quicksilver Cruises fleet. Enjoy 3 x Certified Dives in a comfortable, high speed catamaran. Up to 5 hours at the outer reef.
Evolution Dive & Snorkel Cruise
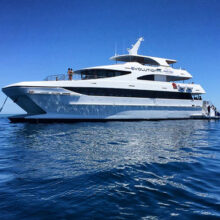
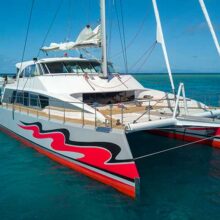
Beautiful super yacht feel! Well priced Great Barrier Reef day tour, including BBQ lunch. 5 hours on the reef at 2 reef sites. Introductory and certified diving are available at extra cost. Brand new boat! Add scenic helicopter flights! A really beautiful dive & snorkel boat!
Divers Den: Aqua Quest
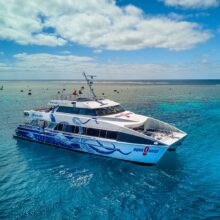
Brilliant certified diving, a real divers boat. Dive unguided or with guides, perfect for underwater photographers. Visits 2 reef sites. Great for snorkelers and those wanting to try a first-time introductory dive. Includes buffet lunch and all dive & snorkel gear.
Do you need help choosing?
Can't decide?
CALL US: 07 4041 1638
Or try the form below, we have personally been on every Cairns reef and diving trip. We can help you choose the best tour, to suit your experience and budget.
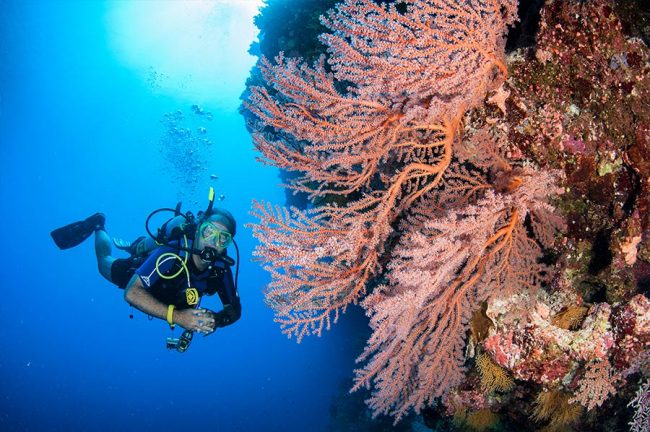
Scuba Diver with Pink Seafan at Osprey Reef Australia
Let’s get started.
If you plan to scuba dive on the Great Barrier Reef, then one of the best places to do this in Australia is the city of Cairns. Many dive boat operators depart the port city daily. This makes it very easy to spend the day scuba diving and taking underwater photos.
There are many ways to take underwater photographs. In this article, we will talk about two simple ways of capturing beautiful underwater photos. The two forms of photography we will show you are advanced DSLR underwater photography techniques and beginner compact camera underwater photography techniques. Scroll down the page to find the information relevant to you.
Even if you are a beginner, we do recommend reading this entire article, there is a lot of detailed information that can help you no matter what level your underwater photography skills are.
Watch the video below to learn more about Underwater Photography Tips & Settings:
The video runs for just over 12 minutes. If you have time watch to learn about shutter speeds, aperture settings, ISO settings and much more.
DSLR Advanced Underwater Photography Techniques, How to Set Your Camera Up!
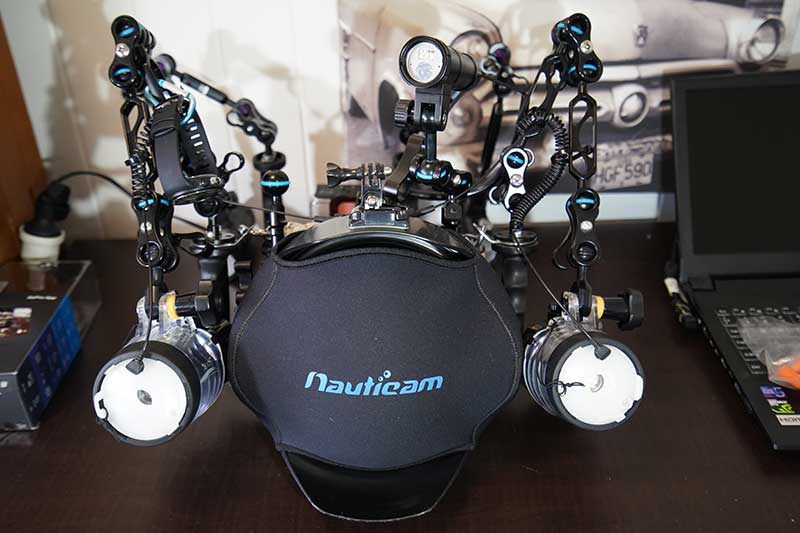
DSLR Underwater Camera Rig
DSLR Underwater Photography is for those that are a little more serious about underwater photography. For this category, we recommend you purchase a DSLR style camera with an interchangeable lens, underwater housing, focus light and twin strobe lights.
For the purpose of this article, we are using an older Nikon D-90 DSLR camera with a Nauticam Housing, Twin YS110 Strobe lights and a small LED pilot light (Video Light).
The lens we are using is a Tokina 10-17mm fisheye lens. The Nauticam underwater housing also has a 20-Inch dome port to help with wide-angle photography.
For the purpose of this article and to keep things simple we will concentrate on wide-angle underwater photographs. Please note there are many forms of underwater photography, macro, super macro, black water, wide-angle and night photography to name a few. We believe wide-angle photography is generally the easiest form of photography to master and allows the photographer to also capture friends and family in the photograph.
DSLR Underwater Camera Settings:
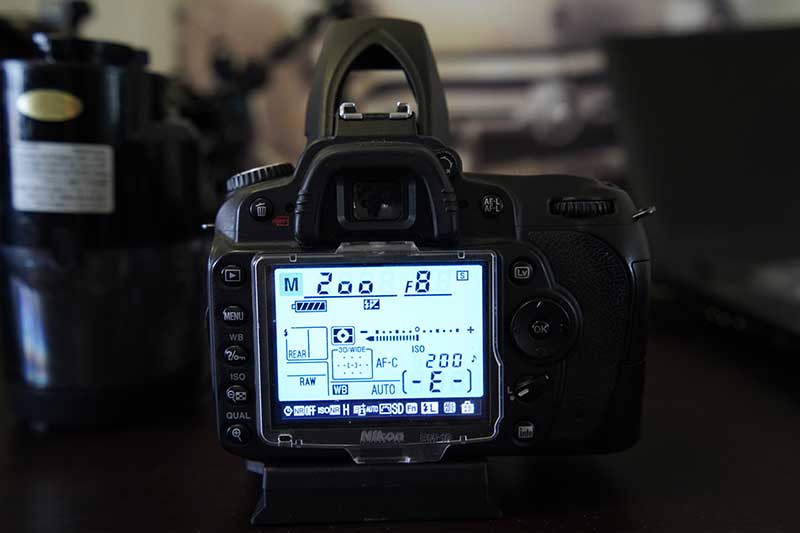
Nikon D90 Underwater Camera Settings
Below are the recommended settings we use, keep in mind we do change our camera settings based on water depth, water clarity and ambient lighting conditions. Camera settings should always be changed to the environment you are shooting in (E.G. adjusting the aperture when diving at different depths). In general, we recommend following the below options to set up your camera before entering the water.
- RAW Files: Put your camera in RAW file mode (This captures the most data possible and streamlines the editing process later in a photo editing software like Lightroom.) Saving in RAW Format allows maximum editability. We save photos in the highest setting the camera allows. (Large & Fine)
- White Balance Settings: White Balance we leave this in Auto mode as when you import the RAW file into lightroom you can change your white balance settings as you need too.
- Camera Shooting Setting: Set your camera to (M) manual mode, we will change all the manual settings to help optimize the camera to perform to the best of its abilities.
- Focus Mode Setting: We set our focus setting to (AF-C) Auto Focus (C) is for continuous auto-focusing if you have your shutter button half-pressed. In settings, we set the 3D Tracking to 11 focus points which are the maximum for this camera. Basically, we want as much of the photograph in focus as possible. We found this the best method for focusing on moving or still objects. (Much newer faster cameras that have even more focus points and grid style focus systems will be even better than this). But we are happy with the D-90 for now.
- Inbuilt Flash: Turn the strength of your cameras built-in flash all the way to the lowest setting possible. Basically, the flash on your camera will only be used to trigger the larger external strobe lights. The internal flash on the camera only needs to push out just enough light to trigger your strobes. (This will speed up the recoil energization in your flash so you can take multiple shots in succession i.e. taking 5 shots in a row as fast as possible with the flash firing every time).
- ISO Settings: Try to set this to as low as your camera will allow. The Nikon D-90 goes down to ISO 200. (ISO is your film sensitivity the lower the setting the more detail you can capture). Less grain and noise in your photographs.
- Shutter Speed Settings: We recommend setting your shutter speed to 200 and in some situations dropping this down to 160 (Try to keep it around 180 to 200 as fish and objects move and by keeping a quicker shutter spend you will lessen the chance for motion blur)
- Camera Zoom: Draw your camera zoom all the way out so you have the widest field of view. Remember we are focusing on wide-angle photos for this underwater photography guide.
- Aperture Settings: We usually set this to F8 to start the dive. This is the one setting that we will constantly change throughout the entire dive. We talk more about this below:
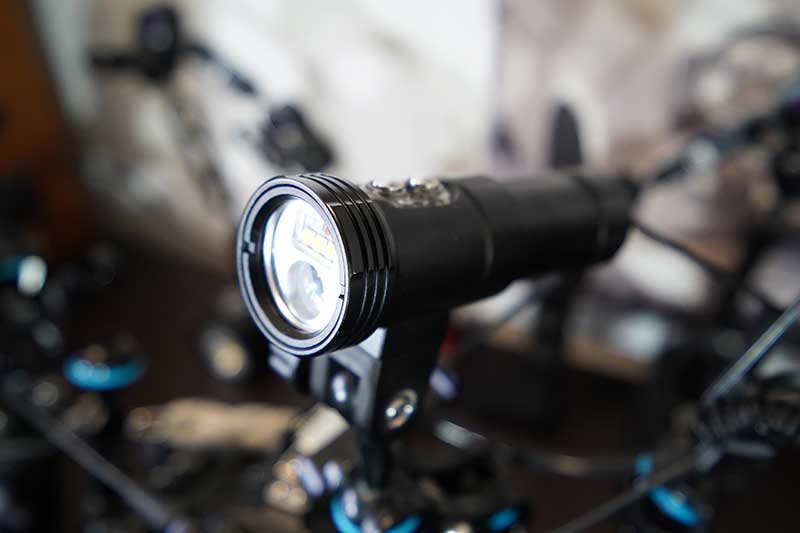
Focus Light helps the camera focus
Now you should have your camera set up correctly with the above settings and now sitting inside the housing. All batteries should be fully charged with a freshly formatted high-speed memory card. Your strobes and focus light batteries should also be fully charged, and you should check all the seals on your camera housing and strobes, make sure there is no hair or sand and you have lubricated the seals as per the manufacture’s recommendations.
Entering the water and starting the dive
So, you are now ready, with your dive gear on and a full tank of air! Generally, all dive companies in Cairns offer guided dives. But some dive boats you can dive in your own buddy pairs so you choose the style of diving you would like to do. If you need help choosing a boat get in touch with us!
Turn on your camera and strobe lights. Once you enter the water and you have checked all your dive gear a crew member from the boat will pass you your camera. You can now descend the mooring line and start to look for objects to photograph. Remember always dive in a buddy pair, stay close to each other and often it best to only have one photographer per buddy pair. The non-photographer can stay close to and watch the other diver taking photos.
Now on to the good stuff!
How to take a photo
One of the easiest underwater photos to take is a wide-angle shot of a sea fan. Generally, larger sea fans can be found around 18/22 meters deep on the Great Barrier Reef. Generally found on the outer reef walls where there is a little current. A good place to find them is at Osprey Reef in the Coral Sea. Once you find one, they are usually dark blue/grey or even black in color. This is due to very low light from being down so deep. But once you fill them with light from your strobe lights only then will you see their true colors! Many sea fans are bright pink, red and even orange!
Tips for taking the best shots
- Get down below your object (in this case the sea fan).
- Shoot up towards the surface on a 45-degree angle.
- Put the sun behind your object (the sea fan) use the sun as an element in your underwater photography.
- I use a focus light on our camera as the Nikon D-90 does struggle in low light focusing on dark objects. The focus light pushes out enough light to illuminate the underside of the object so the camera can focus and lock onto the subject.
- If you are shooting up towards the sun you will want to adjust your aperture to around F18.
- Use your strobe lights to fill all the shadows cast on the underside of the object. The results will be like the photograph below. All the dark shadows cast on the underside of the sea fan are now filled with artificial light from the strobe. You will need to play around with your aperture settings to get the best light options especially as you are pointing your lens up towards the sun. Closing your aperture hole to allow for allot less light will really push everything into focus and helps you to not overexpose the photo. (Sometimes you will need to push it up to F22).
- While underwater after you have taken a shot press the playback button on your camera and check the photo. Look for bright colorful images. Make the necessary adjustments, get closer, turn your strobes up or down and adjust your aperture until you get the perfect shot, then try again.
- Take your time and check each photo after you have taken it. Make the necessary adjustments and try again.
- Only through trial and error will you start to perfect the art of taking magnificent Underwater Photographs.
Quick Tip: The aperture is really the only setting that we constantly change to suit the lighting conditions underwater. Various lighting conditions like a cloudy day, sunny day, rainy day, shallow water or deep water all change the lighting conditions. You will need to constantly change your aperture to suit the lighting conditions. The only real way to perfect this is with practice. The more you practice the better you will get.
If you are interested in perfecting your underwater photography and would like to enquire about a 5-Day or the 7-Day Coral Sea Dive Expedition to the Ribbon Reefs and Osprey Reef in Australia, get in touch. Customers that book one of these liveaboard dive trips with us we offer you our 1 x FREE Digital Underwater Olympus TG5 Camera Hire and YS110 Strobe Light service. You get to use the latest compact underwater camera and YS110 strobe to really launch your underwater photography. We also offer a short lesson to teach you how to optimize your underwater photos and use the equipment.
Now for those that perhaps are not so technical but would still love to take beautiful underwater photos please see our beginner compact camera underwater photography techniques below:
Beginner compact camera underwater photography techniques.
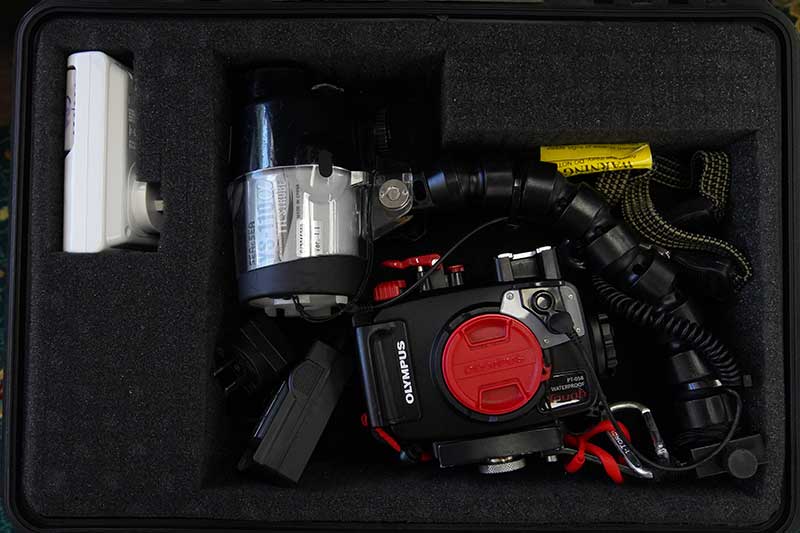
Olympus TG5 Camera with YS110 Stobe
This form of underwater photography is best suited to a new or beginner photographer. In terms of reward for input required it is a very satisfying way to take pictures. Many modern compact cameras rival DSLR cameras and many have an underwater setting programmed into the camera.
First time underwater photographers with little to no experience in underwater photography can pick up a compact camera and start taking rewarding pictures in no time at all.
See below our recommendations on the best settings to get you started.
Compact Underwater Camera Settings:
For this tutorial, we will reference the Olympus TG5 Camera & underwater housing. These are a magnificent tough little camera that really packs a punch for its size, settings, and image taking capabilities.
In general, we leave the default factory settings on the camera, we put the camera mode to underwater fish mode. There are 4 options on this mode we put it in wide-angle mode. We set the flash to on. That’s it!
Yes, that is it! This camera set in underwater fish mode coupled with a YS110 Strobe Light is all you need to get started taking wonderful underwater images.
Why?
This camera does all the hard work for you. Focus locking, Light Metering, Shutter Speed and Aperture Settings. In fact, this camera does such a good job when coupled with a large YS110 Strobe the results are wonderful!
The reason we keep it so simple for first-time photographers is a scuba diver can concentrate on their diving, buoyancy and frame composition. With the camera taking care of all the hard stuff for you, divers can really concentrate on the environment around them and try to find that perfect shot.
Entering the water and how to take a photo are all the same procedures as mentioned above. The only thing you need to worry about is getting close to your subject, shooting up at a 45-degree angle, use the sun as an element in your photo and use the strobe light to fill the subject’s shadows.
Tips for taking the best shots with a compact camera
- Get down below your object (in this case the sea fan).
- Shoot up towards the surface on a 45-degree angle.
- Put the sun behind your object (the sea fan) use the sun as an element in your underwater photography. It's also fun to have a diver in your photo.
- Press the flash mode on your camera so the camera will fire the flash every time you try to take a photo. This will power the strobe light!
- Take your photo, adjust the strobes to make sure you are getting enough light onto your subject.
- While underwater press the playback button on your camera and check the photo. Make the necessary adjustments like getting closer to your subject, turn your strobes up or down and adjust your zoom.
- Take your time and check each photo after you have taken it. Make the necessary adjustments and try again.
- If you are not seeing enough color in your photo get closer, turn your strobe up a little more and try again. Don’t leave the site until you get a bright colorful photo.
- Only through trial and error will you start to perfect the art of taking magnificent Underwater Photographs with a small compact camera.
Basically, using a modern compact underwater camera in full underwater auto mode allows you more time to concentrate on your diving abilities and really rely on the camera being able to make the correct camera adjustments.
The downfall of shooting in auto is you lose the ability to completely control and tell the camera what to do. But in the early stages of Underwater Photography (You probably do not know what the best settings are to tell the camera how to take better photos), most people just want to go out and take some beautiful bright colorful images to show their friends. Compact cameras are perfect for this.
The good news is these Olympus TG5 underwater compact cameras can also take your photography to allot higher levels, you can grow into the camera. The Olympus TG5 can shoot RAW and in full manual mode where you can fully adjust all the settings manually like the DSLR camera mentioned above. You can add a dome port and video lights and really extend the power of these wonderful little cameras. They are small, compact and easier to travel with, unlike the larger DSLR versions.
Either way, there is no right or wrong way of doing underwater photography, it’s the result that counts! If you are happy with your underwater photos of the Great Barrier Reef! Then that is all the matters!
Conclusion:
Happy shooting everyone, if you have any further questions about underwater photography tips diving the great barrier reef or you would like to enquire about a day dive boat or liveaboard dive expedition from Cairns or Port Douglas in Australia, get in touch with our dive crazy reservation team, we are here to help! PH: + 61 7 4041 1638 or Email: reservations@cairnsdiveadventures.com
Sunlover Reef Cruises
Silverswift Dive & Snorkel
Evolution Dive & Snorkel Cruise
Divers Den: Aqua Quest
Reef Magic Cruises
Great Adventures: Green Island & Great Barrier Reef
Passions Of Paradise
Reef Experience
Great Adventures: Outer Great Barrier Reef Pontoon
Silversonic Dive & Snorkel – Port Douglas
Ocean Spirit Cruises – Michaelmas Cay
Poseidon Snorkel and Dive
Quicksilver Outer Great Barrier Reef Cruises
Dreamtime Dive & Snorkel Cruises
Calypso Dive & Snorkel – Port Douglas
Spirit of Cairns – Buffet Dinner Cruise
Moore Reef & Fitzroy Island Full Day Reef Tour
Allure – Private Luxury Yacht Charter Cairns
Search for Tours:
Cairns Reef Information
Click the links below to find out more.
Do you need help choosing a trip?
Can't decide? We have personally been on every Cairns reef and diving trip. We can help you choose the best tour, to suit your experience and budget.
Special
FREE UNDERWATER CAMERA HIRE*
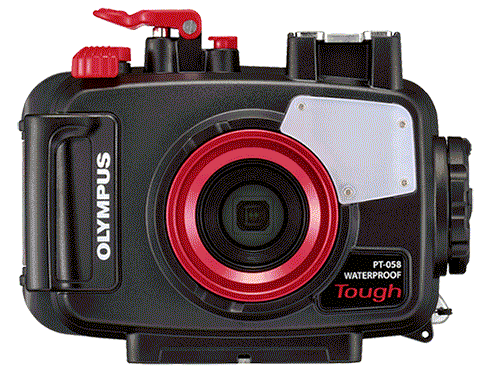
Spend over $550.00 AUD on your Great Barrier Reef tour with us and receive the latest Digital Underwater Camera Hire. Take amazing High-Resolution images and 1080 HD Video. Only when you book online thru our website.
Not available for any tours to the Islands as fine white sand damages the seals on the cameras and makes them leak!
You need to come into our shop located on the Cairns Esplanade the day before departure to pick up the camera before 5:30 pm. You also need to supply your own SD Camera Card and drop the camera off back at our shop before 5:30pm.
Please Remember there is no other way to collect our cameras! All passengers must come into our shop the day before departure day before 5:30 pm.


